Struggling with AI generated images that scream "artificial"? You're not alone. Whether you're using Midjourney, DALL-E, or Stable Diffusion, making your AI artwork look more natural requires specific techniques and post-processing skills. This comprehensive guide reveals proven methods to transform robotic-looking AI creations into convincing, human-like artwork that passes the authenticity test.
Understanding Why AI Images Look Artificial

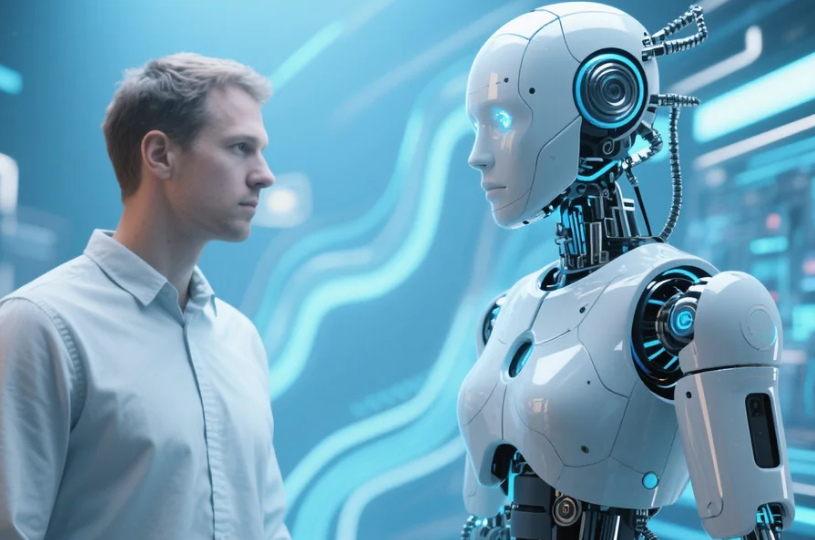
Before diving into solutions, let's understand what makes AI generated images look fake. Most AI art tools produce images with telltale signs: overly smooth textures, unrealistic lighting, perfect symmetry, and that distinctive "digital painting" aesthetic. The algorithms often struggle with fine details like hair strands, fabric textures, and natural imperfections that make real photos authentic.
The key issue is that AI models are trained on existing images, so they tend to create "averaged" versions of what they've seen. This results in images that look too polished, lacking the subtle randomness and imperfections that characterise genuine photography or hand-drawn art.
Essential Post-Processing Techniques
Add Realistic Noise and Grain
One of the most effective ways to make AI images look less artificial is adding appropriate noise and grain. Real photographs, especially those taken in low light or with film cameras, contain natural grain patterns. Use Photoshop's "Add Noise" filter or similar tools in GIMP to introduce subtle texture variations.
Start with a low amount (1-3%) and adjust the distribution to "Gaussian" for the most natural effect. This technique works particularly well for portraits and landscape images generated by AI.
Adjust Colour Grading and Temperature
AI generated images often have unrealistic colour balance. Real photos have colour casts from lighting conditions, camera settings, and environmental factors. Adjust the white balance, add slight colour grading, and introduce subtle colour variations across different areas of the image.
Use tools like Lightroom or free alternatives like RawTherapee to create more authentic colour profiles. Slightly warm or cool tones can make images appear more natural than the perfectly balanced colours AI typically produces.
Introduce Subtle Imperfections
Perfect symmetry and flawless details are dead giveaways of AI artwork. Add minor imperfections like slight asymmetry in faces, small blemishes, or uneven textures. These details make images more believable because real life is inherently imperfect.
Use the clone stamp tool to create small variations, add tiny scratches or dust spots, and slightly blur certain areas to mimic natural depth of field variations.
Advanced Editing Strategies
Layer Real Textures
Overlay real texture images onto your AI generated content using blend modes like "Overlay" or "Soft Light". This technique is particularly effective for skin textures, fabric details, and surface materials that AI struggles to render convincingly.
Source high-quality texture images from photography websites or create your own. Apply them selectively using layer masks to maintain the original composition while adding authentic surface details.
Manual Detail Enhancement
Spend time manually refining areas where AI typically fails. Hair strands, eye details, fabric folds, and background elements often need human touch-ups. Use small brushes to add individual details that make the image more convincing.
This process requires patience but significantly improves the final result. Focus on areas that viewers naturally examine first, such as faces in portraits or focal points in landscapes.
Prompt Engineering for Better Results
Use Specific Photography Terms
When creating AI images, include photography-specific terms in your prompts. Words like "shot on film", "35mm photography", "natural lighting", or "candid moment" can help AI models generate more realistic-looking results from the start.
Specify camera settings, lens types, and lighting conditions to guide the AI towards more photographic aesthetics rather than digital art styles.
Reference Real Photography Styles
Mention specific photographers, photography movements, or camera brands in your prompts. This helps the AI understand the aesthetic you're aiming for and can result in more authentic-looking images that require less post-processing.
Common Mistakes to Avoid
| Common Mistake | Why It Fails | Better Approach |
|---|---|---|
| Over-sharpening | Creates artificial edges | Use subtle sharpening selectively |
| Perfect symmetry | Looks too artificial | Add slight asymmetrical elements |
| Uniform lighting | Lacks natural variation | Create lighting gradients |
| Oversaturation | Appears digitally enhanced | Use natural colour ranges |
Tools and Software Recommendations
Professional Options
Adobe Photoshop remains the gold standard for making AI generated images look more natural. Its advanced selection tools, layer blending modes, and filter options provide everything needed for professional-quality results.
Lightroom excels at colour grading and overall image enhancement, making it perfect for the initial processing stages.
Free Alternatives
GIMP offers most of Photoshop's functionality without the cost. It's particularly good for texture work and basic retouching. Canva and other online editors can handle simpler adjustments for users who don't need professional-grade tools.
Frequently Asked Questions
How long does it take to make AI images look natural?
The time varies depending on the image complexity and desired quality level. Simple adjustments might take 15-30 minutes, while detailed retouching can require several hours. Practice significantly reduces processing time.
Can I use these techniques on any AI image generator?
Yes, these post-processing techniques work regardless of which AI image generator you use. Whether it's Midjourney, DALL-E, Stable Diffusion, or newer tools, the principles remain the same.
What's the most important technique for beginners?
Start with adding subtle noise and adjusting colour temperature. These two techniques alone can dramatically improve the authenticity of AI generated images without requiring advanced skills.
Are there any automated tools for this process?
While some plugins and automated tools exist, manual adjustment typically produces better results. The human eye is excellent at spotting what looks "off" in an image, making manual refinement more effective.
How can I tell if my edits are working?
Show your edited images to others without mentioning they're AI-generated. If people don't immediately identify them as artificial, your techniques are working effectively.
Making AI generated images look less AI generated is both an art and a science. The key lies in understanding what makes images appear authentic and systematically addressing the telltale signs of artificial generation. By combining smart prompt engineering with thoughtful post-processing, you can create AI artwork that's virtually indistinguishable from human-created content. Remember that subtlety is crucial – the goal isn't to completely transform the image, but to add those small, natural imperfections that make it believable. With practice and patience, these techniques will become second nature, allowing you to produce consistently convincing results that showcase the best of both AI capability and human creativity.