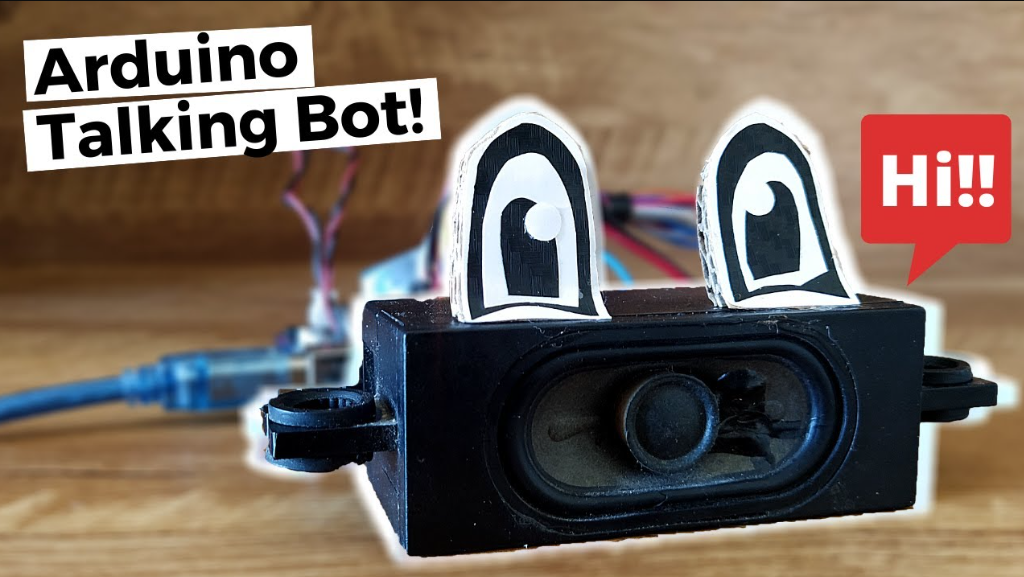
Imagine creating your own talking robot that responds to your commands - not with complex AI systems, but with an affordable Arduino board and some creative engineering. This groundbreaking approach demystifies voice technology by showing how you can build a voice-responsive companion without expensive hardware. By merging simple electronics with accessible programming, we'll transform ordinary components into a responsive robotic personality that can speak, react, and even develop basic behaviors.
Why Arduino Is Revolutionary for Robotics
Traditional talking robot projects often require expensive components like Raspberry Pis or specialized voice modules. Arduino democratizes this technology with:
Affordable hardware accessible to hobbyists (entire project under $40)
Simple C-based programming that doesn't require advanced degrees
Real-time response capabilities crucial for interactive robotics
Massive community support and open-source libraries
Secret Weapon: We'll leverage the groundbreaking ISD1820 voice module - a $4 chip that outperforms expensive competitors through analog voice storage.
Essential Materials You'll Need
Arduino Nano/Uno
The robot's brain ($8-$12)
ISD1820 Voice Module
Records & plays audio ($4)
Mini Speaker (8Ω)
For audible speech ($1.50)
Microphone Module
For voice detection ($2)
Servo Motors (x2)
Mouth/head movement ($5)
Jumper Wires
Connection essentials ($1)
Step-by-Step Construction Guide
Step 1: Recording System Setup
Connect the ISD1820 module to Arduino:
VCC → Arduino 5V pin
GND → Arduino GND
PLAYE → Arduino Digital Pin 3
REC → Arduino Digital Pin 4
// Sample voice recording trigger const int recordPin = 4; const int playPin = 3; void setup() { pinMode(recordPin, OUTPUT); pinMode(playPin, OUTPUT); digitalWrite(recordPin, HIGH); // Initialize as not recording } void recordMessage() { digitalWrite(recordPin, LOW); // Start recording delay(10000); // Record for 10 seconds digitalWrite(recordPin, HIGH); // Stop recording }Step 2: Creating Robotic Expressions
Mount micro servos to create lip synchronization:
Position one servo horizontally for jaw movement
Use the second servo for head tilting (emotional expression)
Connect servo signal wires to PWM pins 5 and 6
Code servo movements to match voice playback timing
#include Servo jawServo; Servo headServo; void speakEffect(String words) { int wordLength = words.length(); jawServo.write(30); // Open mouth position delay(wordLength * 100); // Open duration proportional to word length jawServo.write(90); // Close mouth } Step 3: Voice Command Integration
Connect microphone module for sound detection:
VCC → 5V pin
GND → GND
OUT → Analog Pin A0
Program basic voice triggers:
void loop() { int soundLevel = analogRead(A0); if(soundLevel > 500) { // Sound threshold headServo.write(60); // Look toward sound delay(300); playMessage(1); // Play greeting } }Pro Tip: Map different sound levels to specific responses - claps trigger one message, whistles trigger another!
Step 4: Programming Personality Modules
Transform your robot from mechanical to charismatic:
Create random response variations using switch-case statements
Implement mood variables that change over time
Add "learned behavior" through EEPROM memory storage
// Simple mood algorithm int mood = 50; // Neutral mood (0-100 scale) void handleInteraction() { if(mood > 70) playHappyResponse(); else if(mood < 30) playAnnoyedResponse(); else playNeutralResponse(); mood += random(-10, 15); // Mood changes after interaction }Record multiple messages for each emotional state to avoid repetition.
Advanced Interaction Techniques
Elevate your talking robot beyond basic responses:
Environmental Awareness: Add temperature/humidity sensors for context-aware comments
Physical Expression: Program servo "dances" to punctuate speech
Conversation Memory: Track interaction history in Arduino's EEPROM
Wireless Control: Add Bluetooth module for remote personality updates
Frequently Asked Questions
Q: Can I use a different voice module besides the ISD1820?
A: Yes, DFPlayer Mini modules work well for higher quality MP3 playback. However, the ISD1820's analog storage creates warmer, more robotic tones perfect for character voices without complicated programming.
Q: How long can the robot's messages be?
A: The basic ISD1820 holds 10-20 seconds of audio. For longer conversations, chain multiple modules (each with different phrases) or upgrade to MP3 modules with SD cards for unlimited storage capacity.
Q: Can I add custom reactions to specific words?
A: Absolutely! Use voice pattern recognition with the EasyVR module which can be trained to detect specific trigger words. This $25 add-on creates truly responsive behavior without complex coding.
Q: What battery works best for mobile robots?
A: 7.4V LiPo packs (2200mAh+) power Arduinos and servos efficiently. Average runtime: 3-5 hours. Add a simple voltage divider circuit to monitor battery levels through an analog pin.
Interactive Talking Robot for Adults: The Future of AI Companionship
Bringing Your Robotic Creation to Life
Building a talking robot with Arduino teaches more than just electronics - it demonstrates how character emerges from interaction. Unlike expensive AI solutions, this approach gives you complete creative control. Start with the basic voice framework we've built, then progressively incorporate personality algorithms, environmental sensors, and wireless connectivity. By next weekend, you could have a unique robotic companion that doesn't just speak, but communicates with its own distinctive personality.
This project proves you don't need deep learning frameworks for engaging voice interaction. With clever engineering and creative programming, you can create surprisingly lifelike behavior on a microcontroller budget. Share your robotic creations with our growing community of makers who are pushing the boundaries of what's possible with accessible technology.