Ever dreamed of building an Arduino Robot Arm With Computer Vision that can see, interact, and even smile like a quirky repair bot? Or perhaps a Computer Game With Robot integration for an immersive gaming experience? With Arduino and computer vision, you can bring these ideas to life! This guide dives into exciting DIY robotics projects, offering step-by-step tutorials, wiring diagrams, and tips to create vision-enabled robots. Whether you're a beginner or a seasoned maker, these projects blend creativity with cutting-edge technology.
Why Build an Arduino Robot Arm With Computer Vision?
Adding computer vision to an Arduino-based robot arm transforms it from a simple mechanical device into a smart system capable of recognizing objects, tracking movements, or even performing tasks autonomously. The Robotic Arm With Computer Vision is perfect for applications like automated sorting, gesture control, or even assisting in small-scale repairs with a nod to Mr Robot Computer Repair With A Smile. By integrating affordable cameras and open-source software, you can create a robot that sees and reacts to its environment.
Explore more robotics inspiration on our AI Robot Homepage.
Project 1: Building a Vision-Enabled Robotic Arm With Computer Vision
Materials Needed
Arduino Uno or compatible microcontroller
USB camera (e.g., OV7670 or compatible webcam)
Servo motors (4-6 for the arm)
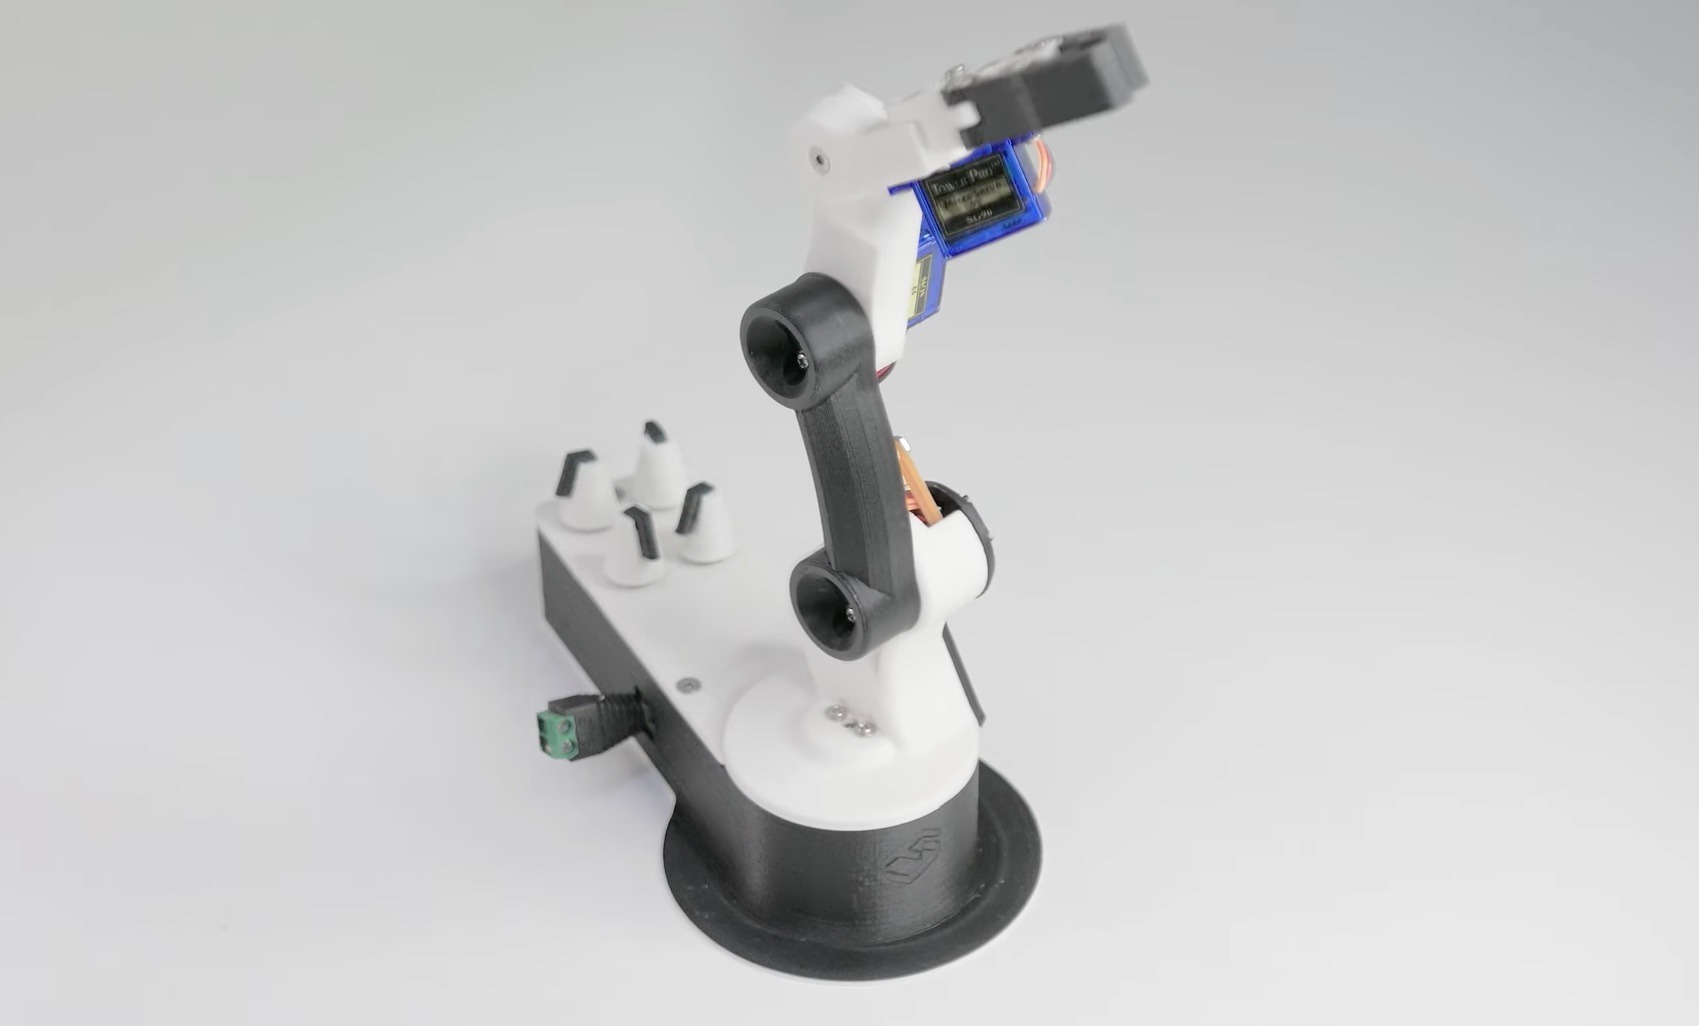
3D-printed or pre-built robot arm kit
Jumper wires and breadboard
Computer with Arduino IDE and Python installed
OpenCV library for computer vision processing
Step-by-Step Tutorial
Assemble the Robot Arm: If using a 3D-printed kit, follow the provided instructions to connect servo motors to the arm’s joints. Ensure each servo is securely fastened and can move freely.
Connect the Arduino: Wire the servo motors to the Arduino’s PWM pins (e.g., pins 9, 10, 11). Use a separate power supply for the servos to avoid overloading the Arduino.
Attach the Camera: Connect the USB camera to your computer or a compatible Arduino shield. For advanced users, the OV7670 can interface directly with Arduino but requires additional setup.
Program the Arduino: Write a basic sketch to control the servo motors. Below is a sample code to get started:
#includeServo base, shoulder, elbow;
void setup() {
    base.attach(9);
    shoulder.attach(10);
    elbow.attach(11);
}
void loop() {
    base.write(90); // Move base to 90 degrees
    delay(1000);
    shoulder.write(45); // Move shoulder
    delay(1000);
}
Integrate Computer Vision: Install OpenCV on your computer. Write a Python script to process the camera feed and detect objects (e.g., using color detection or shape recognition). Send commands to the Arduino via serial communication to move the arm based on detected objects.
Test and Troubleshoot: Calibrate the camera and arm movements. Ensure the arm responds accurately to visual inputs, such as picking up a red ball.
Project 2: Mr Robot Computer Repair With A Smile

Inspired by the idea of a friendly repair bot, this project creates a small Arduino robot that uses computer vision to detect computer components (like a loose cable) and responds with a “smiling” LED display. It’s a fun way to combine practicality with personality!
Steps to Build
Build the Robot Base: Use a simple chassis with two DC motors and a caster wheel. Connect an Arduino to control the motors via an H-bridge (e.g., L298N).
Add the Smile: Attach an 8x8 LED matrix to display a smiling face when the robot completes a task. Use the MAX7219 driver for easy control.
Integrate Vision: Use a webcam and OpenCV to detect specific components (e.g., a cable or screw). Train a simple model to recognize these objects.
Program the Behavior: Code the Arduino to move toward detected components and display the smile on the LED matrix. Use serial communication to link the Python vision script with the Arduino.
Learn how computer vision is transforming robotics in our article Revolutionizing Robotics: How Robot With Computer Technology Drives Innovation.
Project 3: Computer Game With Robot Controller
Take gaming to the next level by building an Arduino robot that controls a Computer Game With Robot mechanics. This project uses computer vision to track the robot’s movements and translate them into game inputs.
How to Create It
Build a Simple Robot: Use a basic two-wheeled robot with an Arduino and motor driver.
Set Up the Game: Create a simple game in Python using Pygame, where a character moves based on the robot’s position.
Add Vision Tracking: Use OpenCV to track a colored marker on the robot. Map the robot’s movements to game controls via serial communication.
Test the Setup: Move the robot on a flat surface and watch the game character respond in real-time.
Troubleshooting Tips for Vision-Enabled Robots
Camera Calibration: Ensure proper lighting to avoid false detections in OpenCV.
Servo Jitter: Use an external power supply and add capacitors to stabilize the voltage.
Serial Communication Issues: Verify baud rates match between Arduino and Python scripts (e.g., 9600).
Code Resources: Check GitHub repositories like Arduino-OpenCV-Integration for sample codes and wiring diagrams.
FAQs
What is the best camera for an Arduino Robot Arm With Computer Vision?
The OV7670 is affordable and Arduino-compatible, but for easier setup, a USB webcam paired with a computer running OpenCV is ideal for beginners.
Can I use Mr Robot Computer Repair With A Smile for real repairs?
While the project is more for fun and learning, it can be adapted to detect loose cables or components with proper training and hardware upgrades.
How do I make a Computer Game With Robot more interactive?
Add sensors like ultrasonic or IR to the robot for obstacle avoidance, or enhance the game with more complex vision-based controls like gesture recognition.
What skills do I need for these projects?
Basic Arduino programming, familiarity with Python, and an understanding of OpenCV are helpful. Beginners can start with simpler projects and learn as they go.
Conclusion
Building a Robotic Arm With Computer Vision or a quirky Mr Robot Computer Repair With A Smile opens up a world of creativity and technical learning. These projects combine Arduino’s simplicity with the power of computer vision, making them accessible yet impressive. Start small, experiment, and soon you’ll be crafting robots that see, move, and even control games! Dive into our AI Robot Homepage for more ideas and resources.